
ZTE Blade teardown
In an attempt to unlock RAM from 256MB to 512MB I bricked my ZTE Blade. These are the final snaps before it died. Here is the method I followed.
Snaps
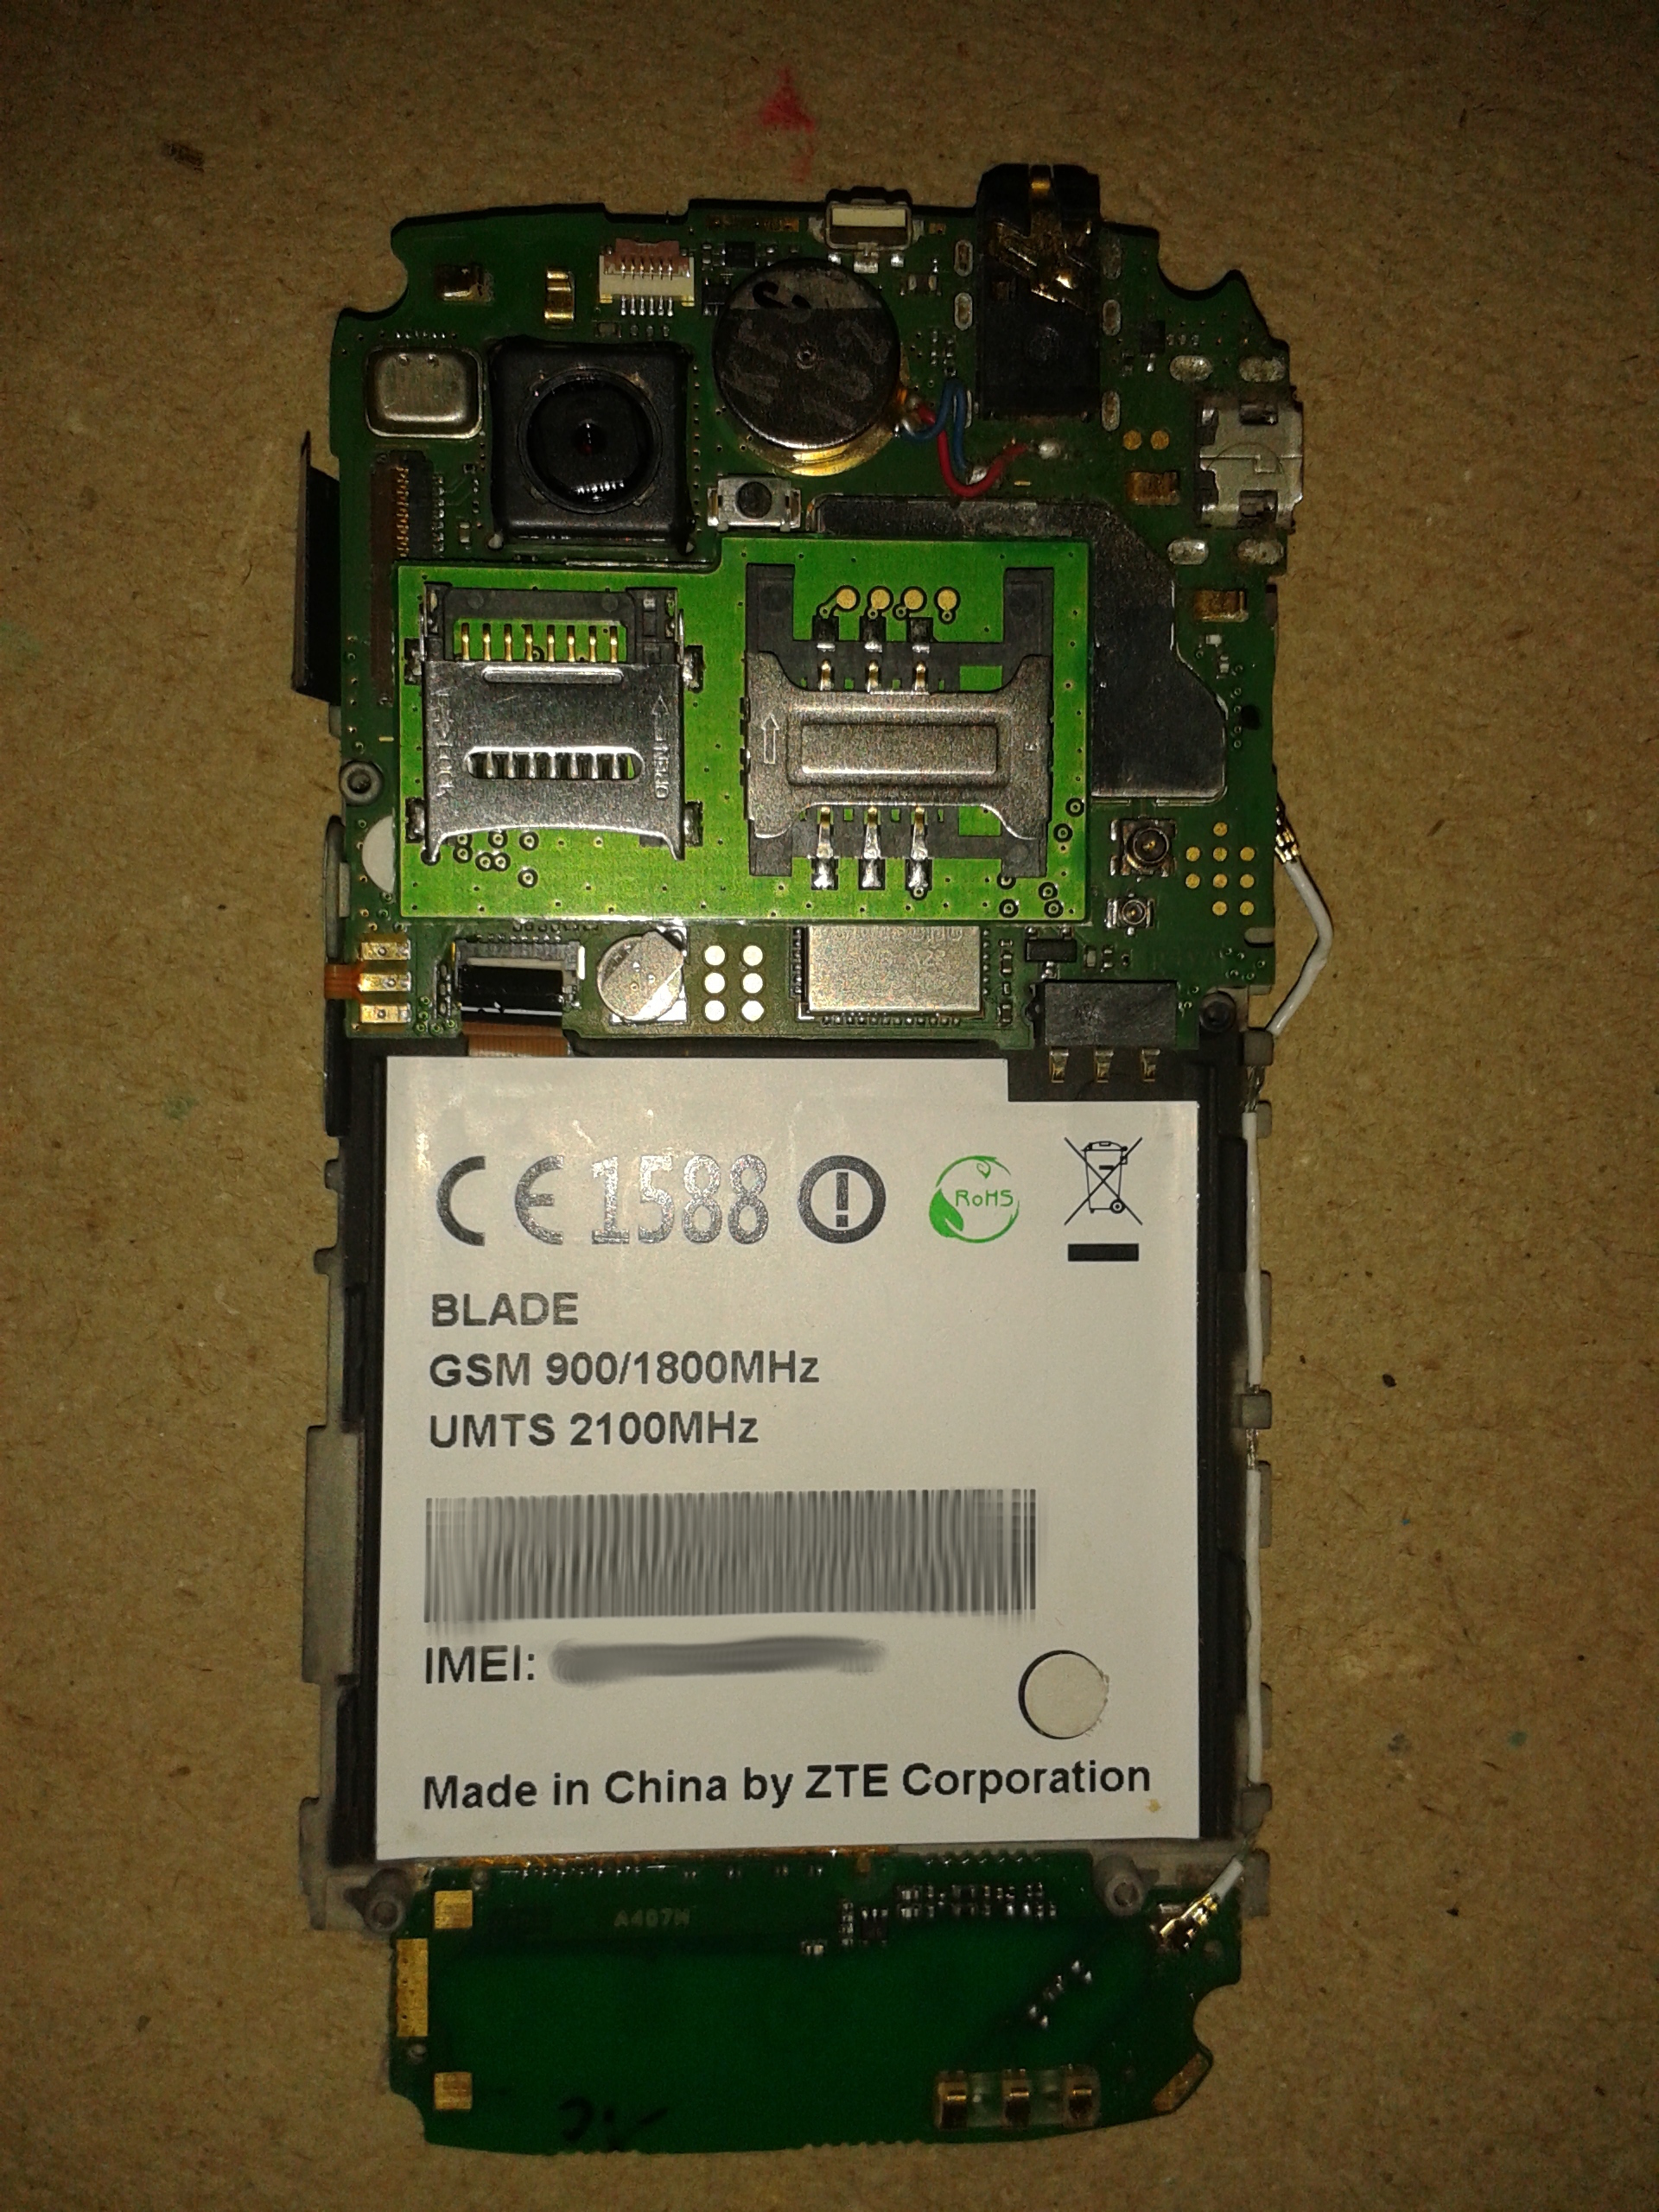 1. Motherboard–when outer cover removed
 2. Touch panel
 3. Inner back cover(front view)
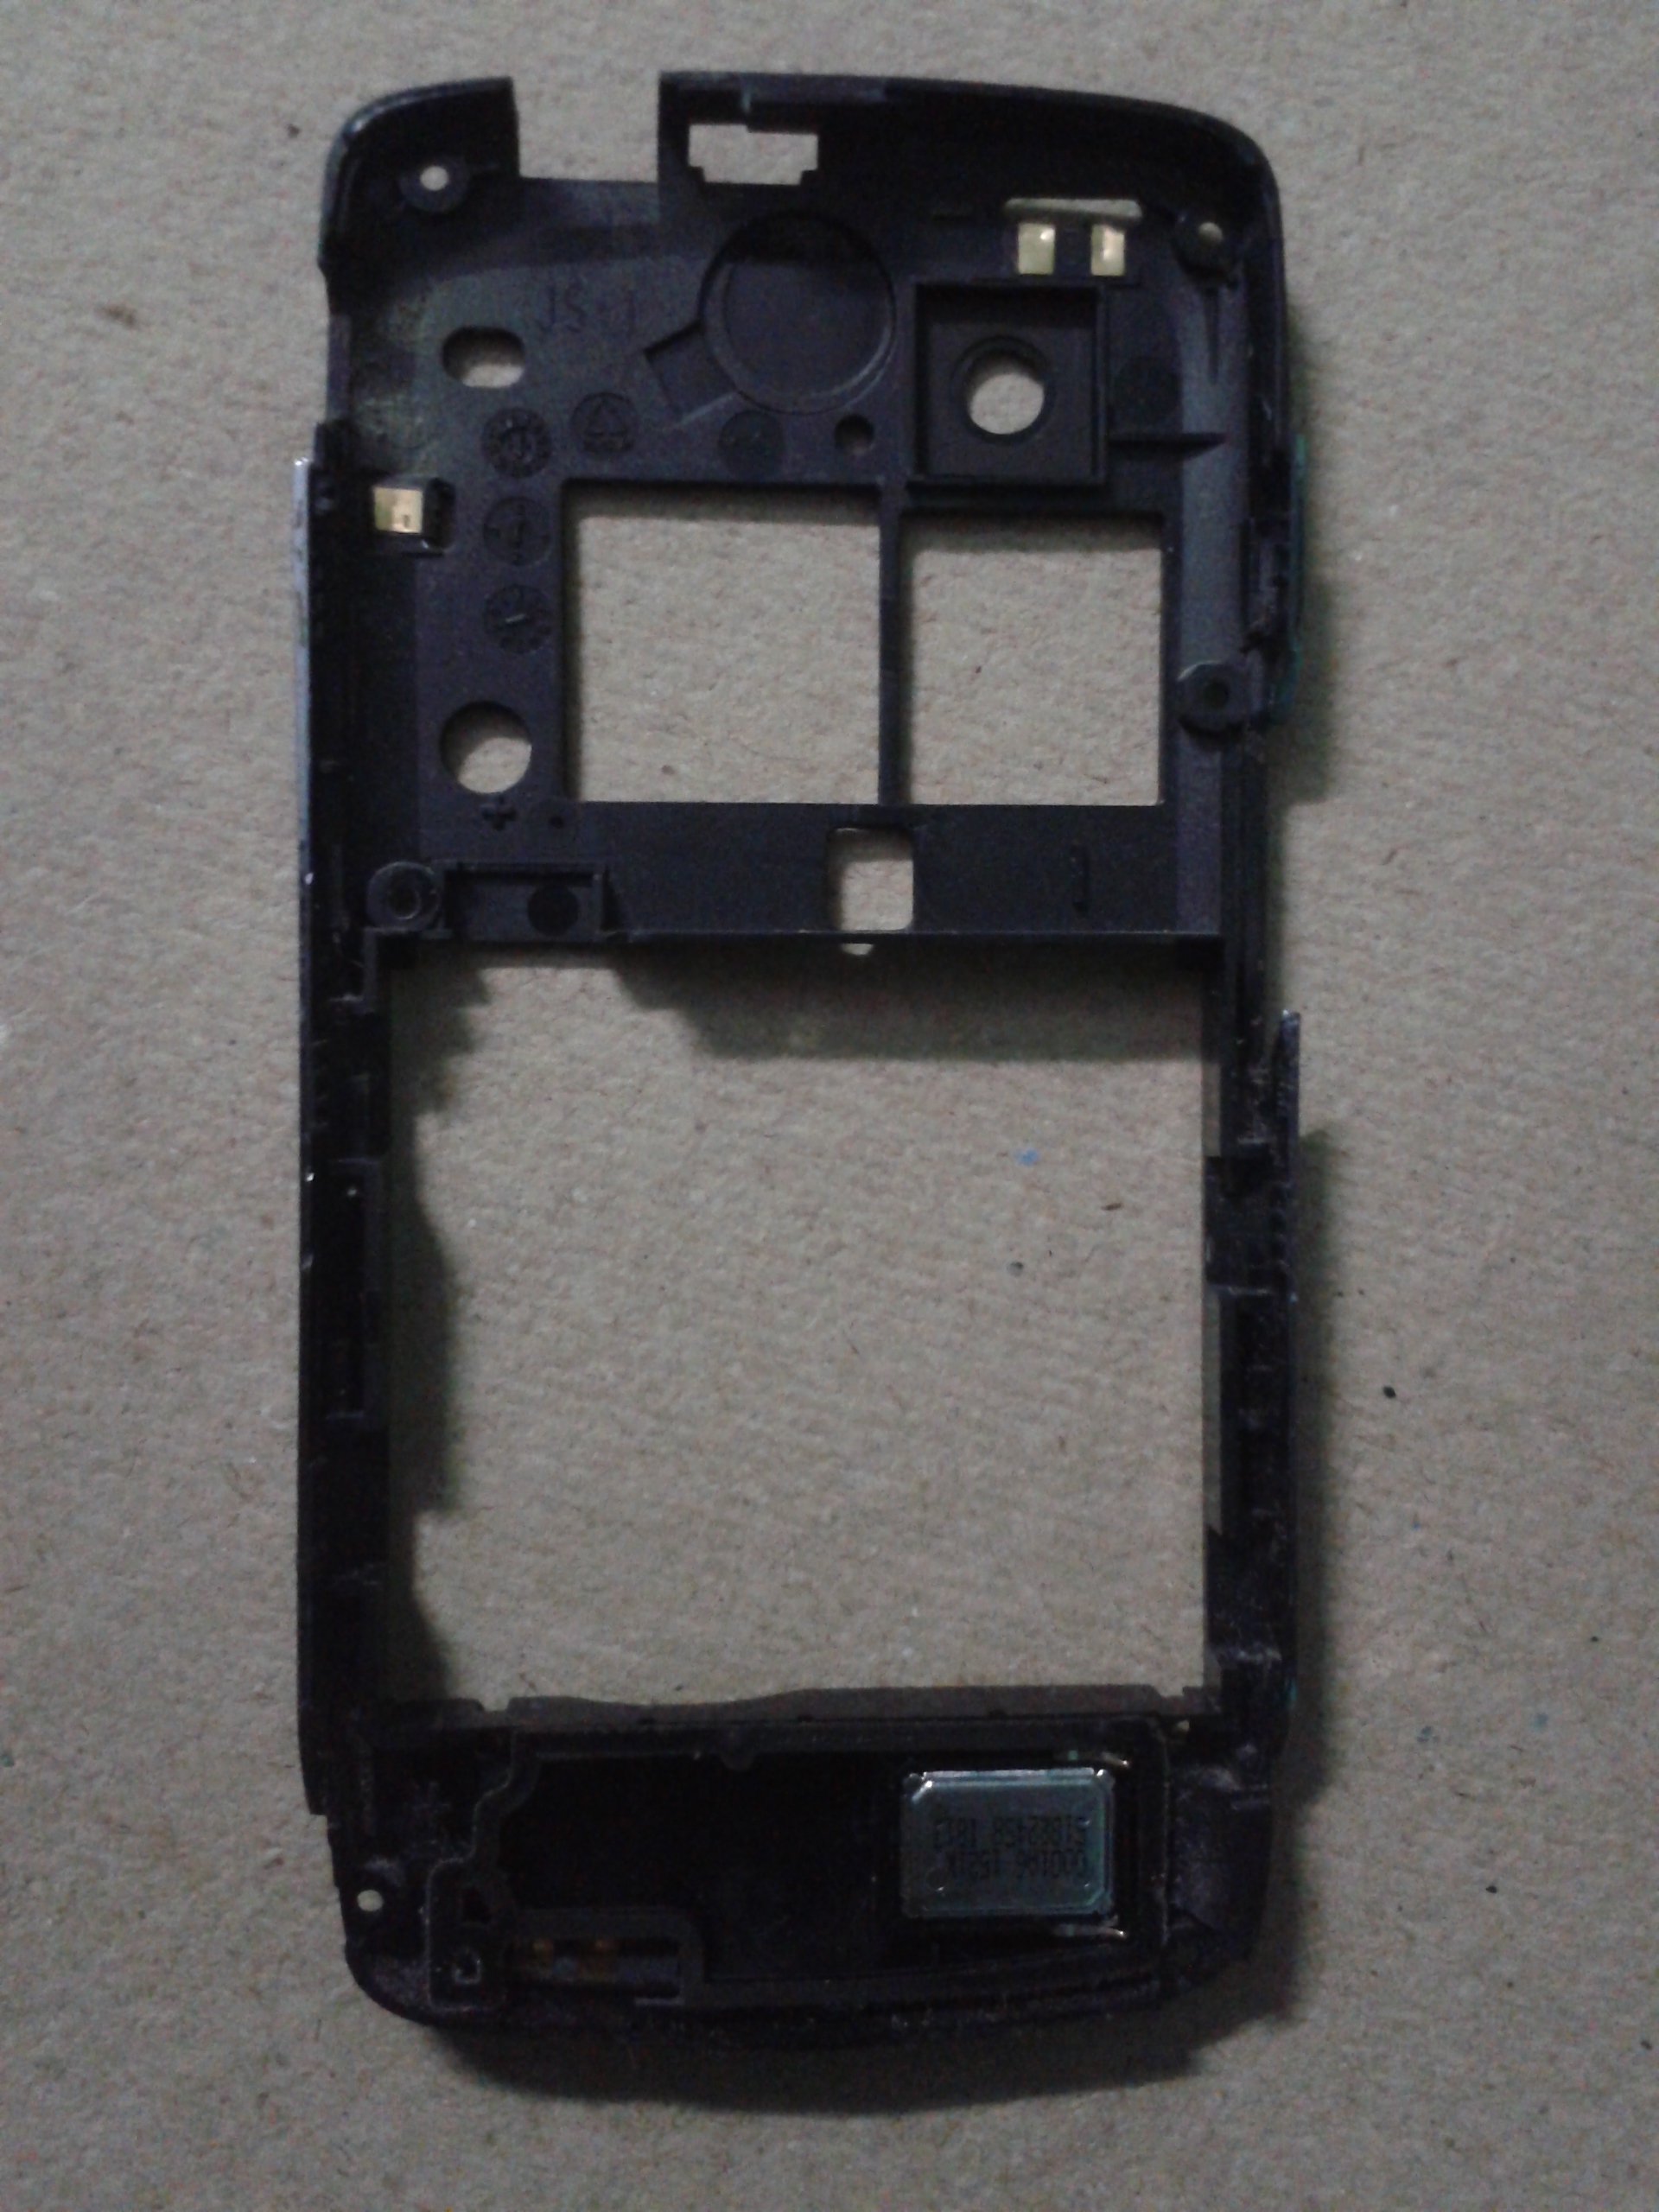 4. Inner back cover(rear view) You can see speaker at the bottom
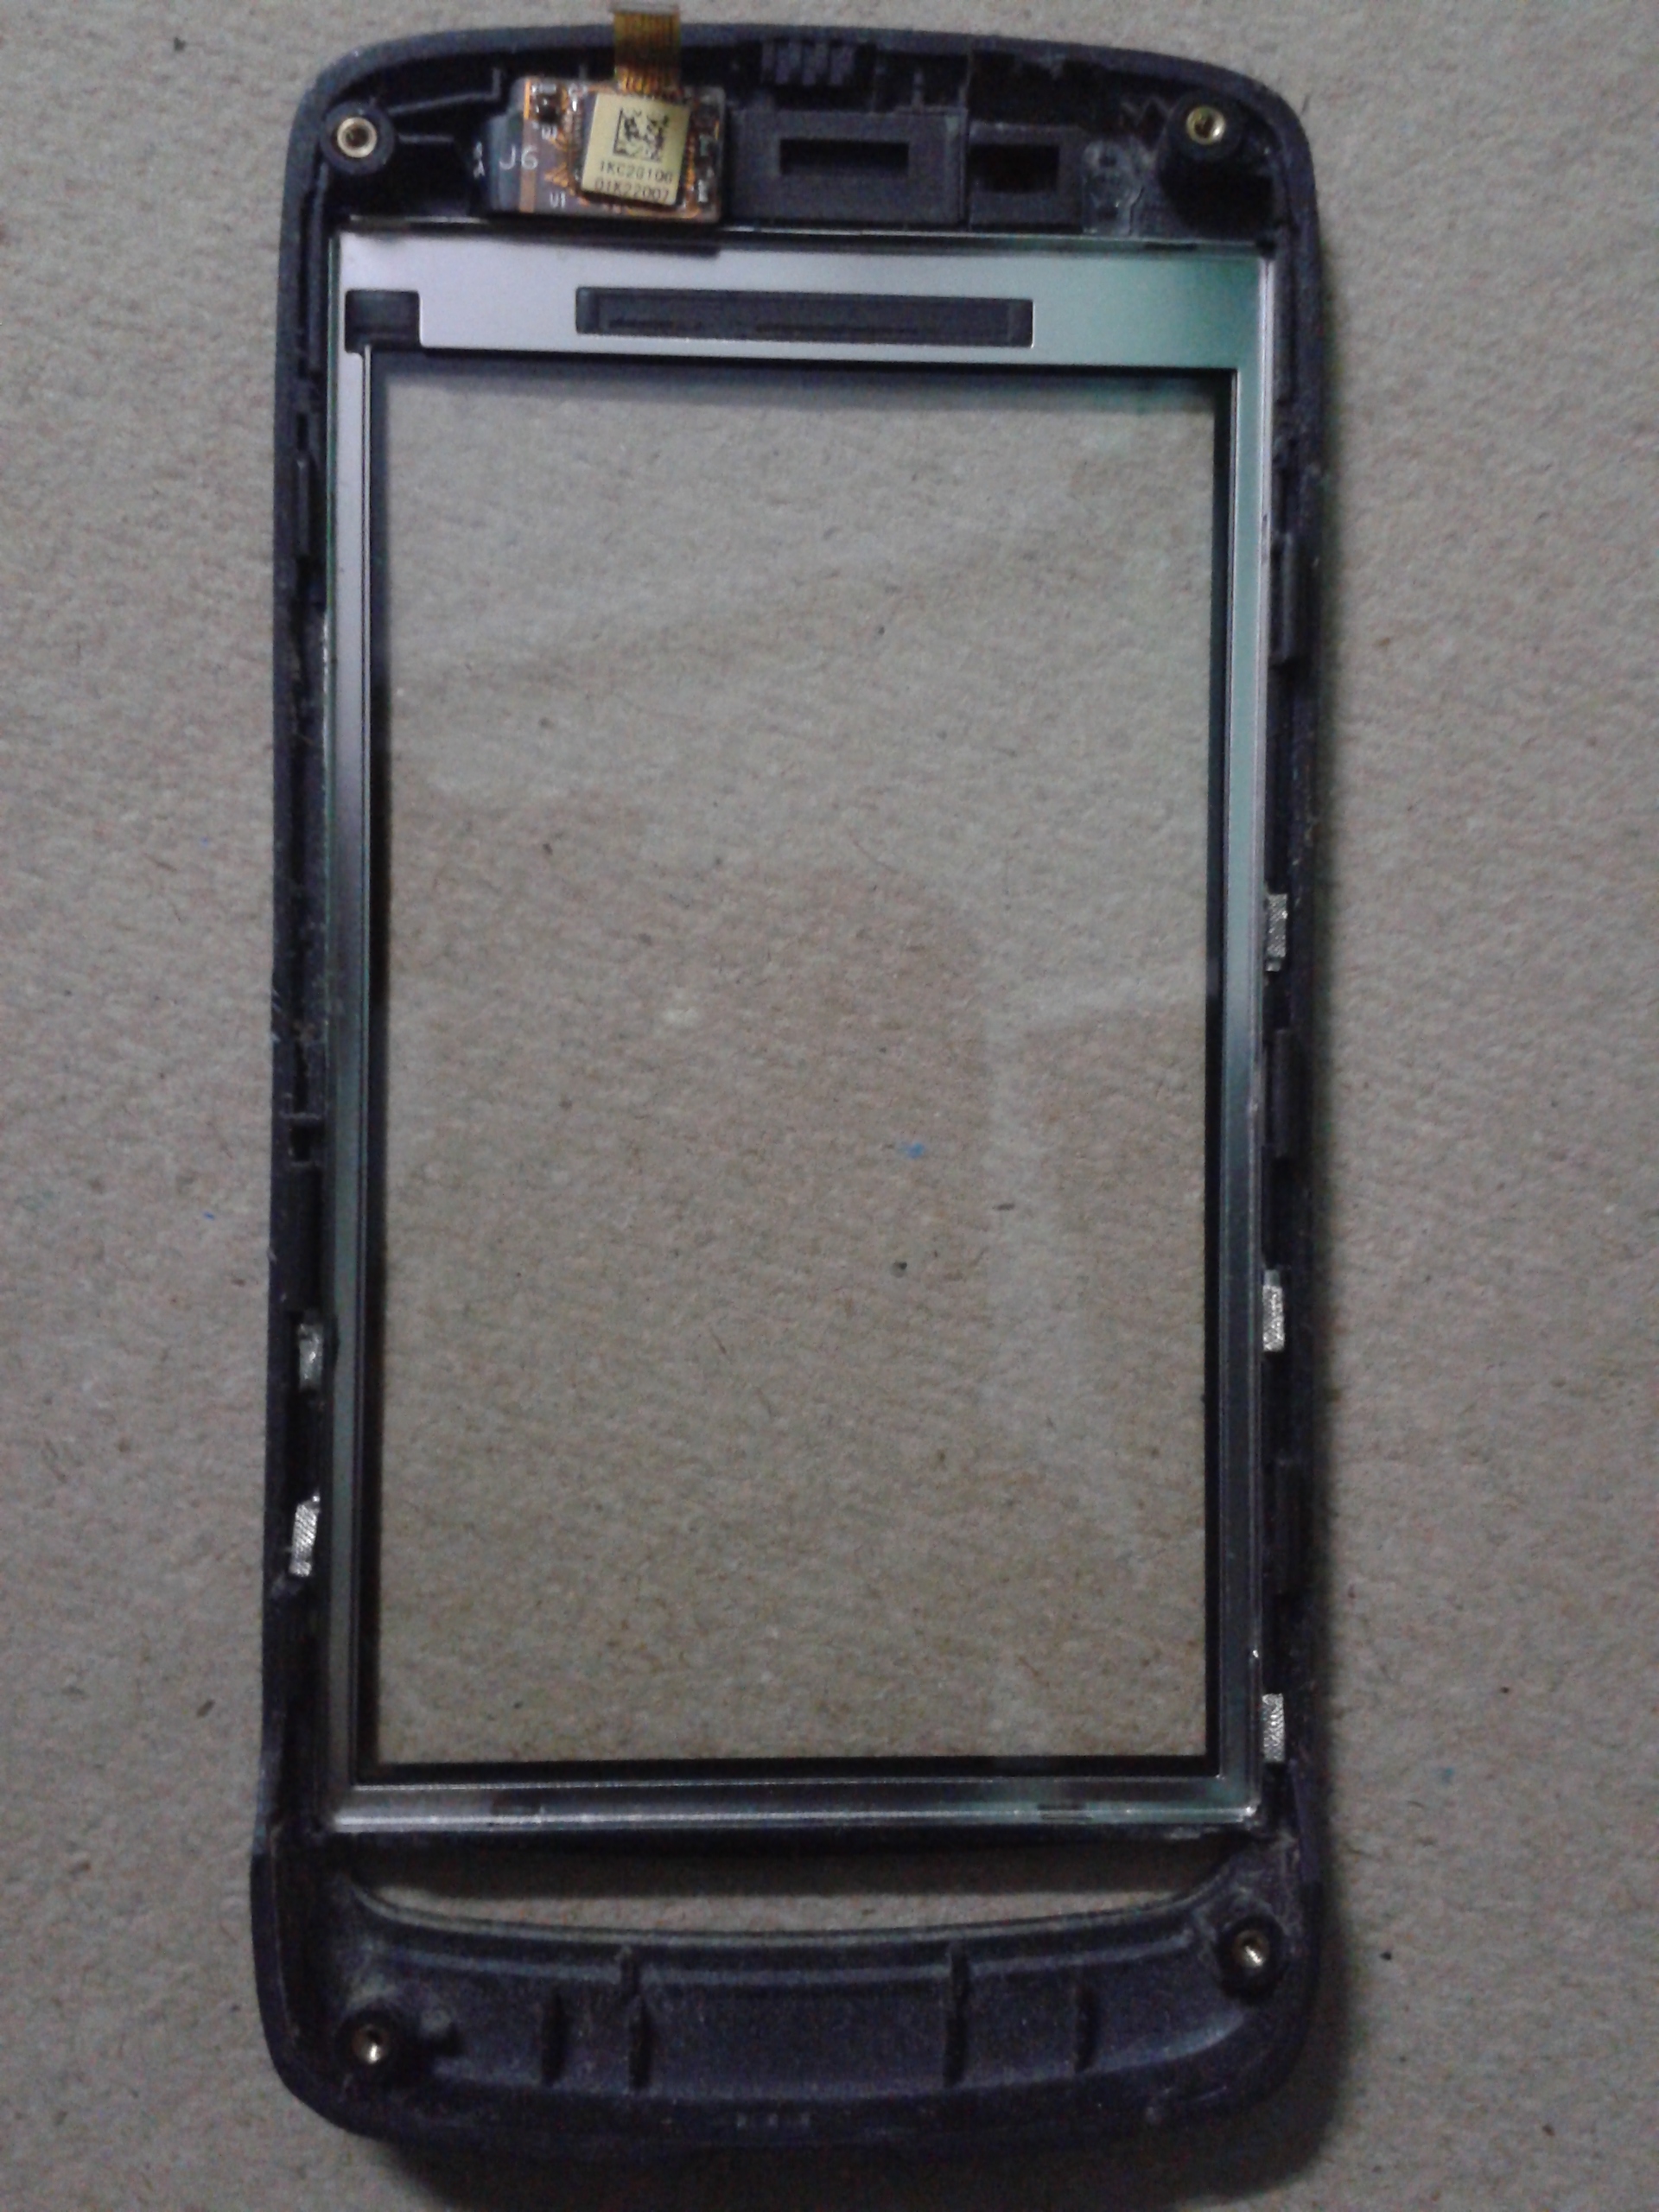 5. Front cover which encloses touch panel(rear view) You can see
sensor circuitry at the top-left
5. Front cover which encloses touch panel(rear view) You can see
sensor circuitry at the top-left
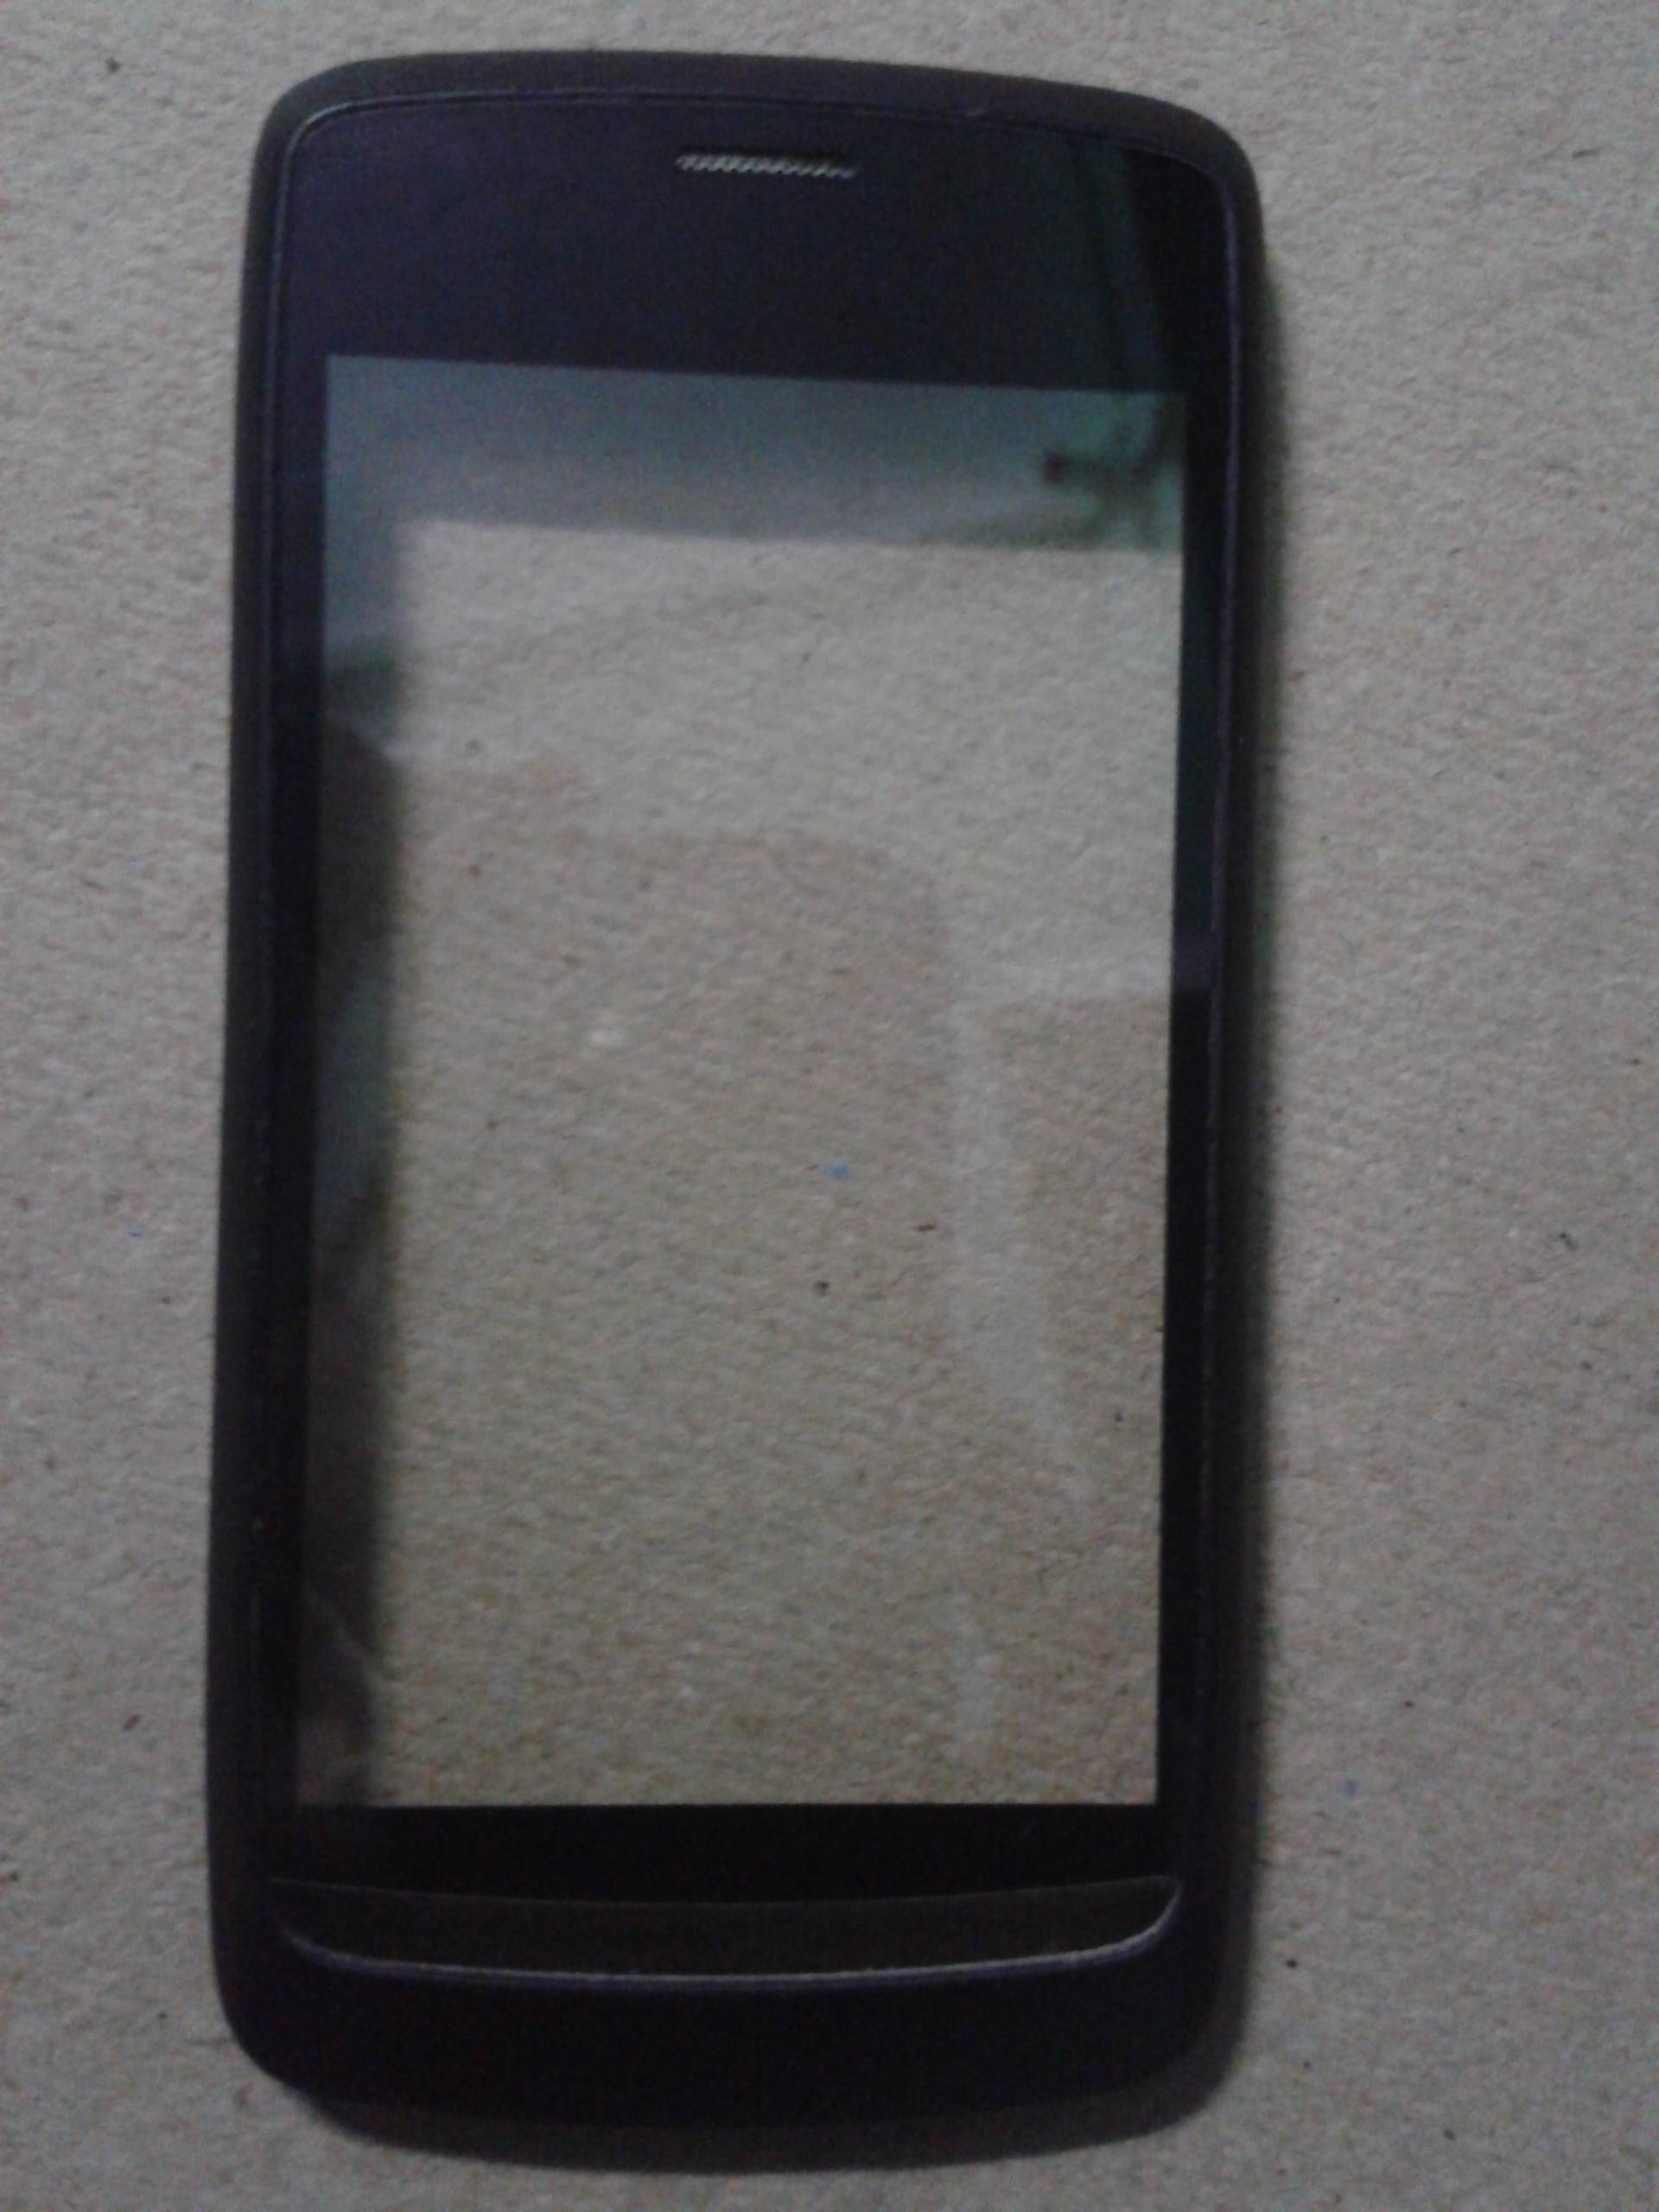 6. Front cover which encloses touch panel(front view)
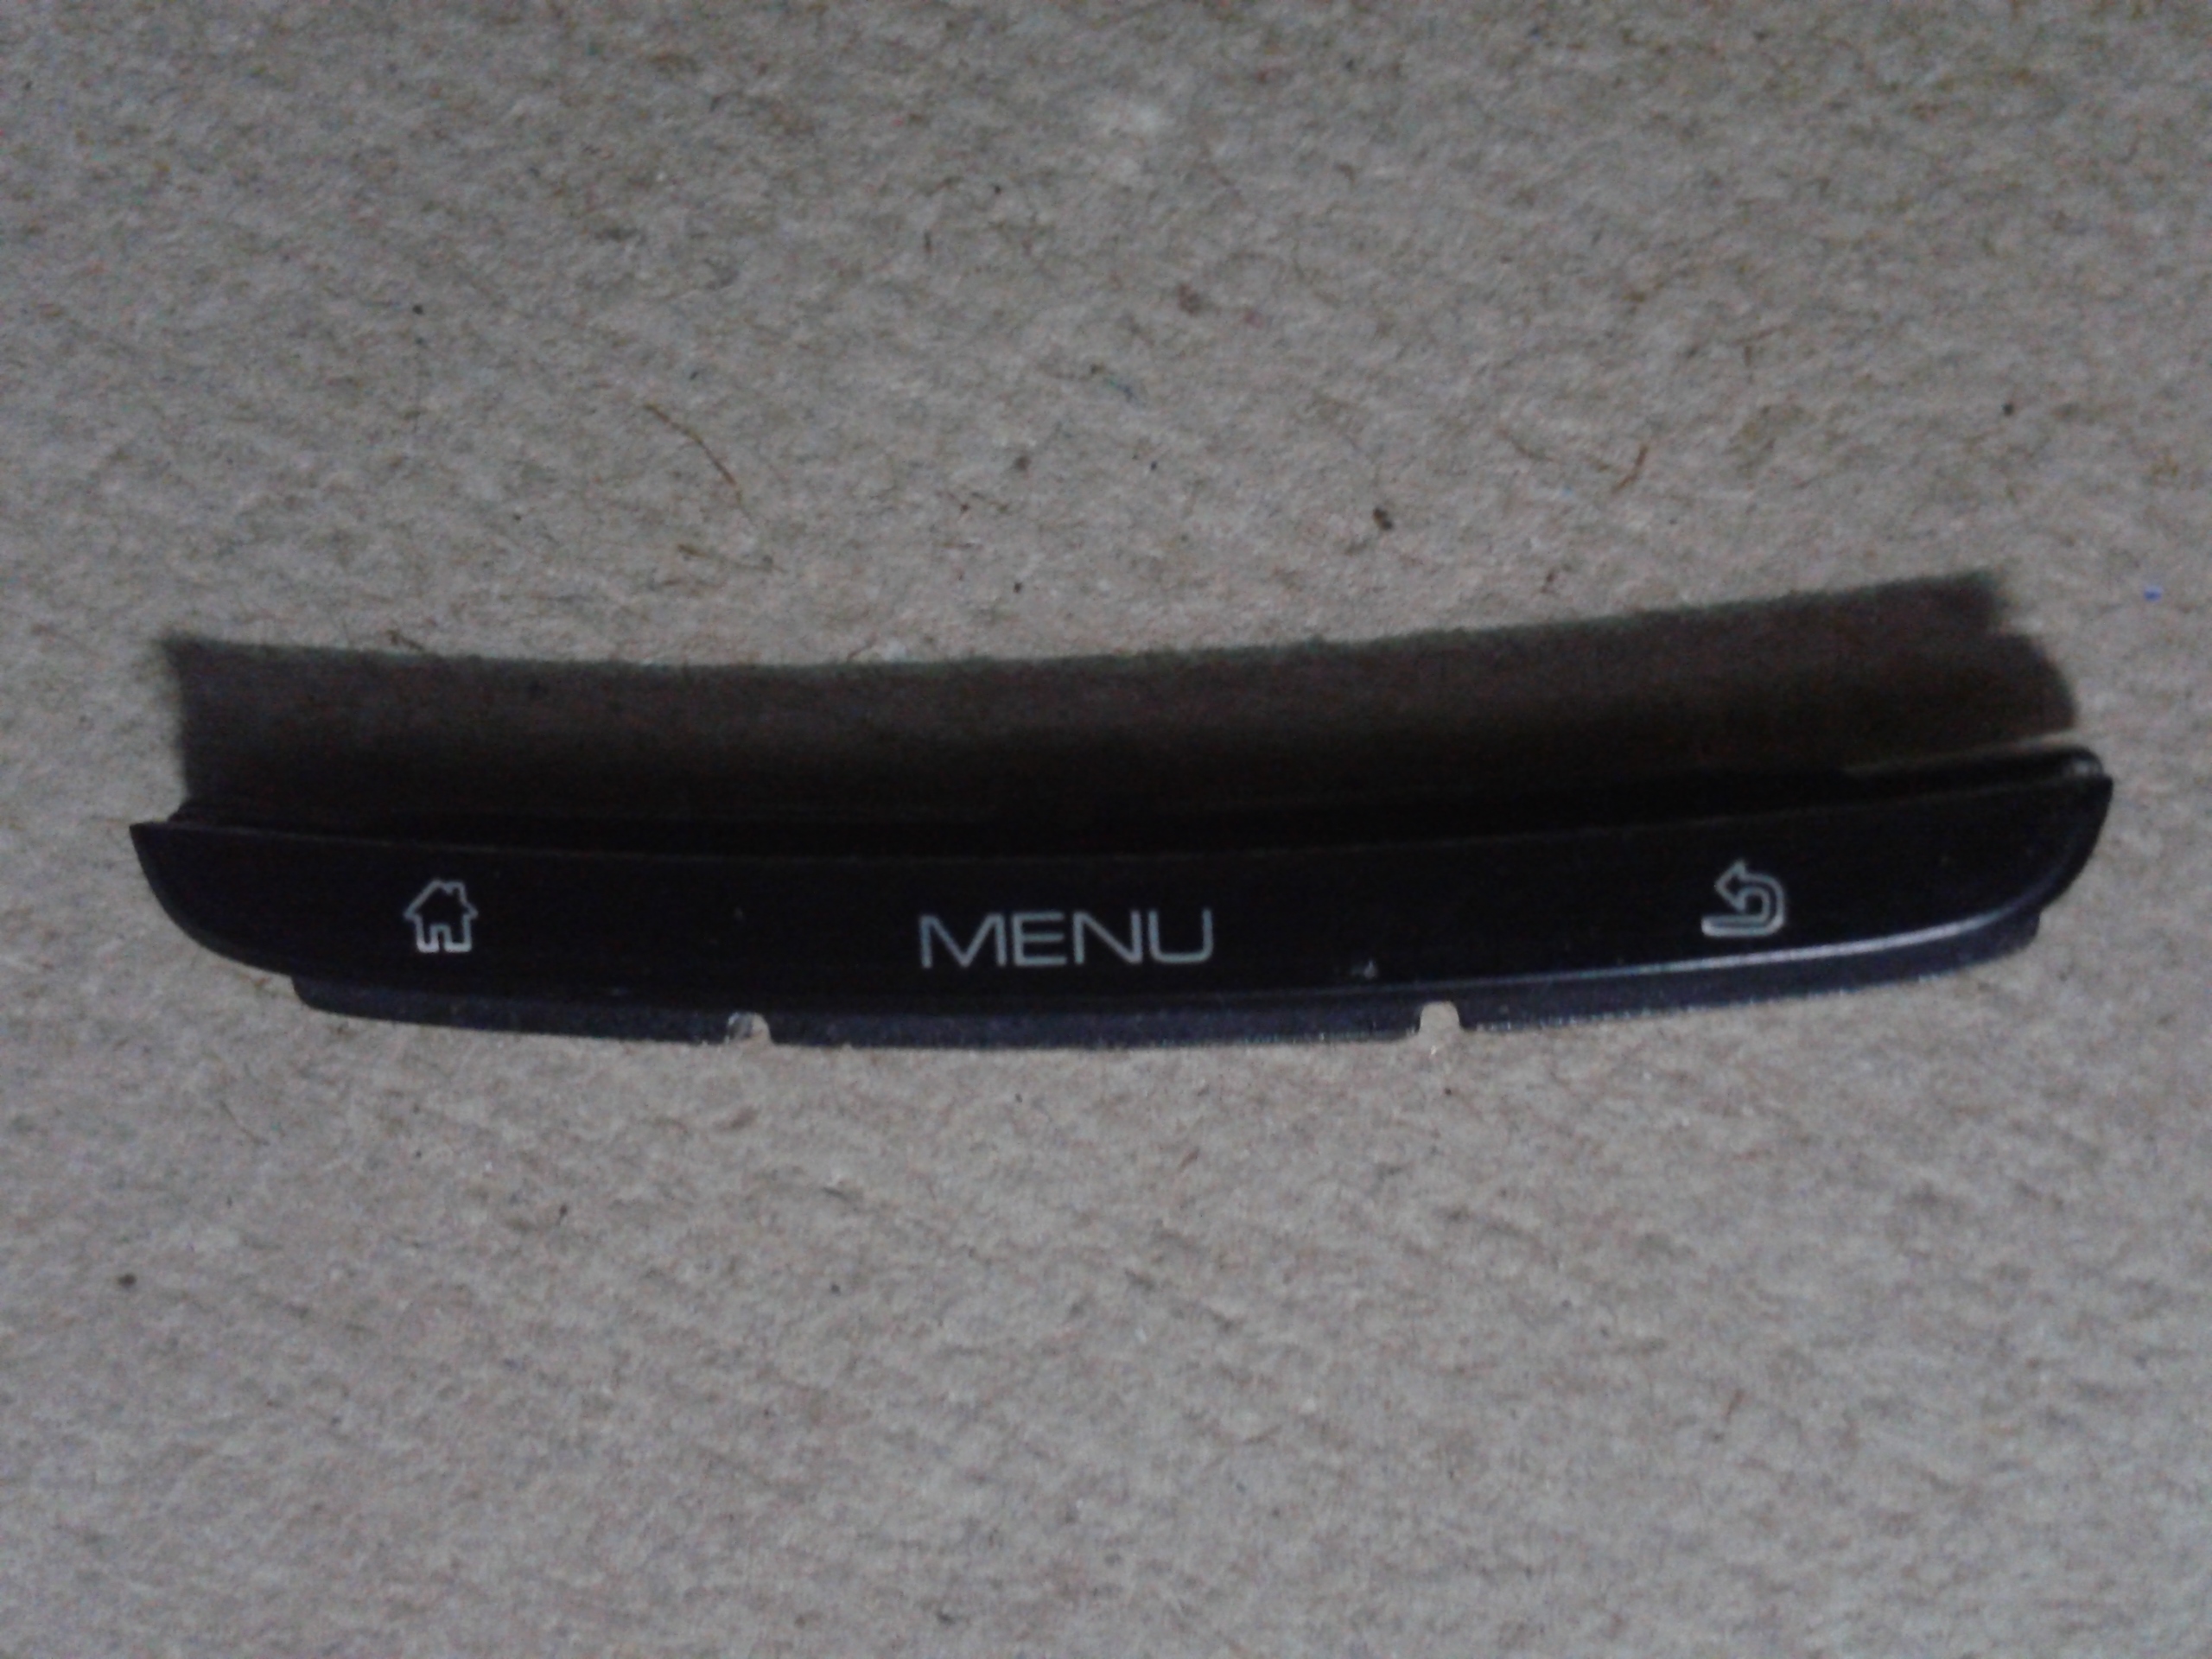 7. Buttons
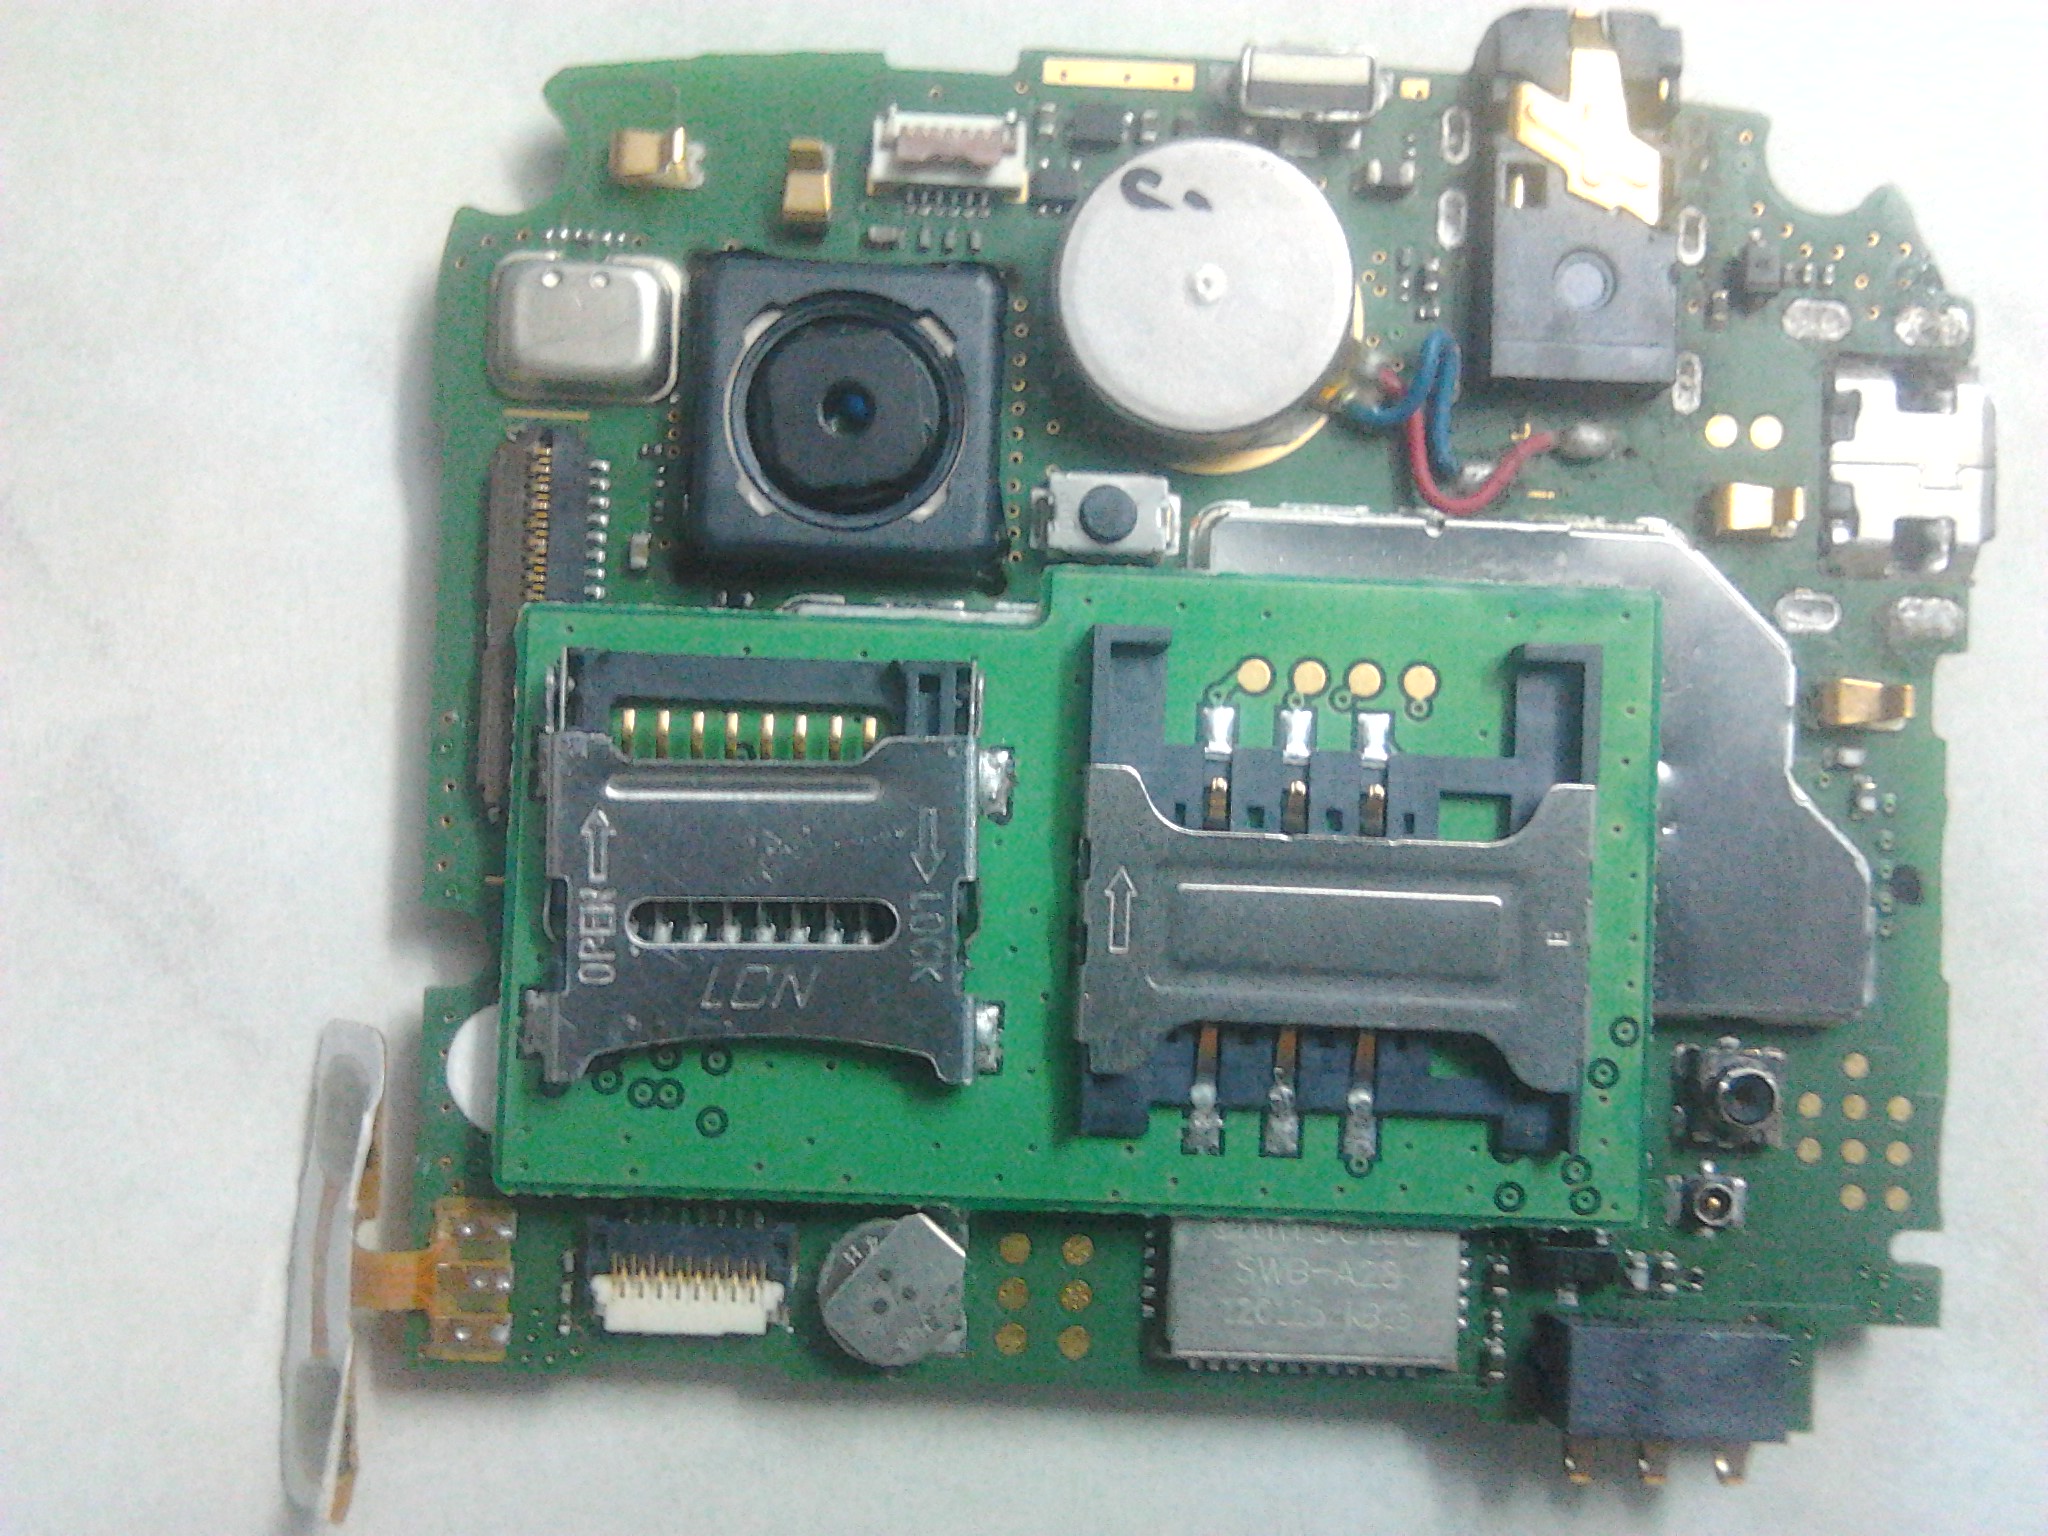 8. Motherboard–closer look
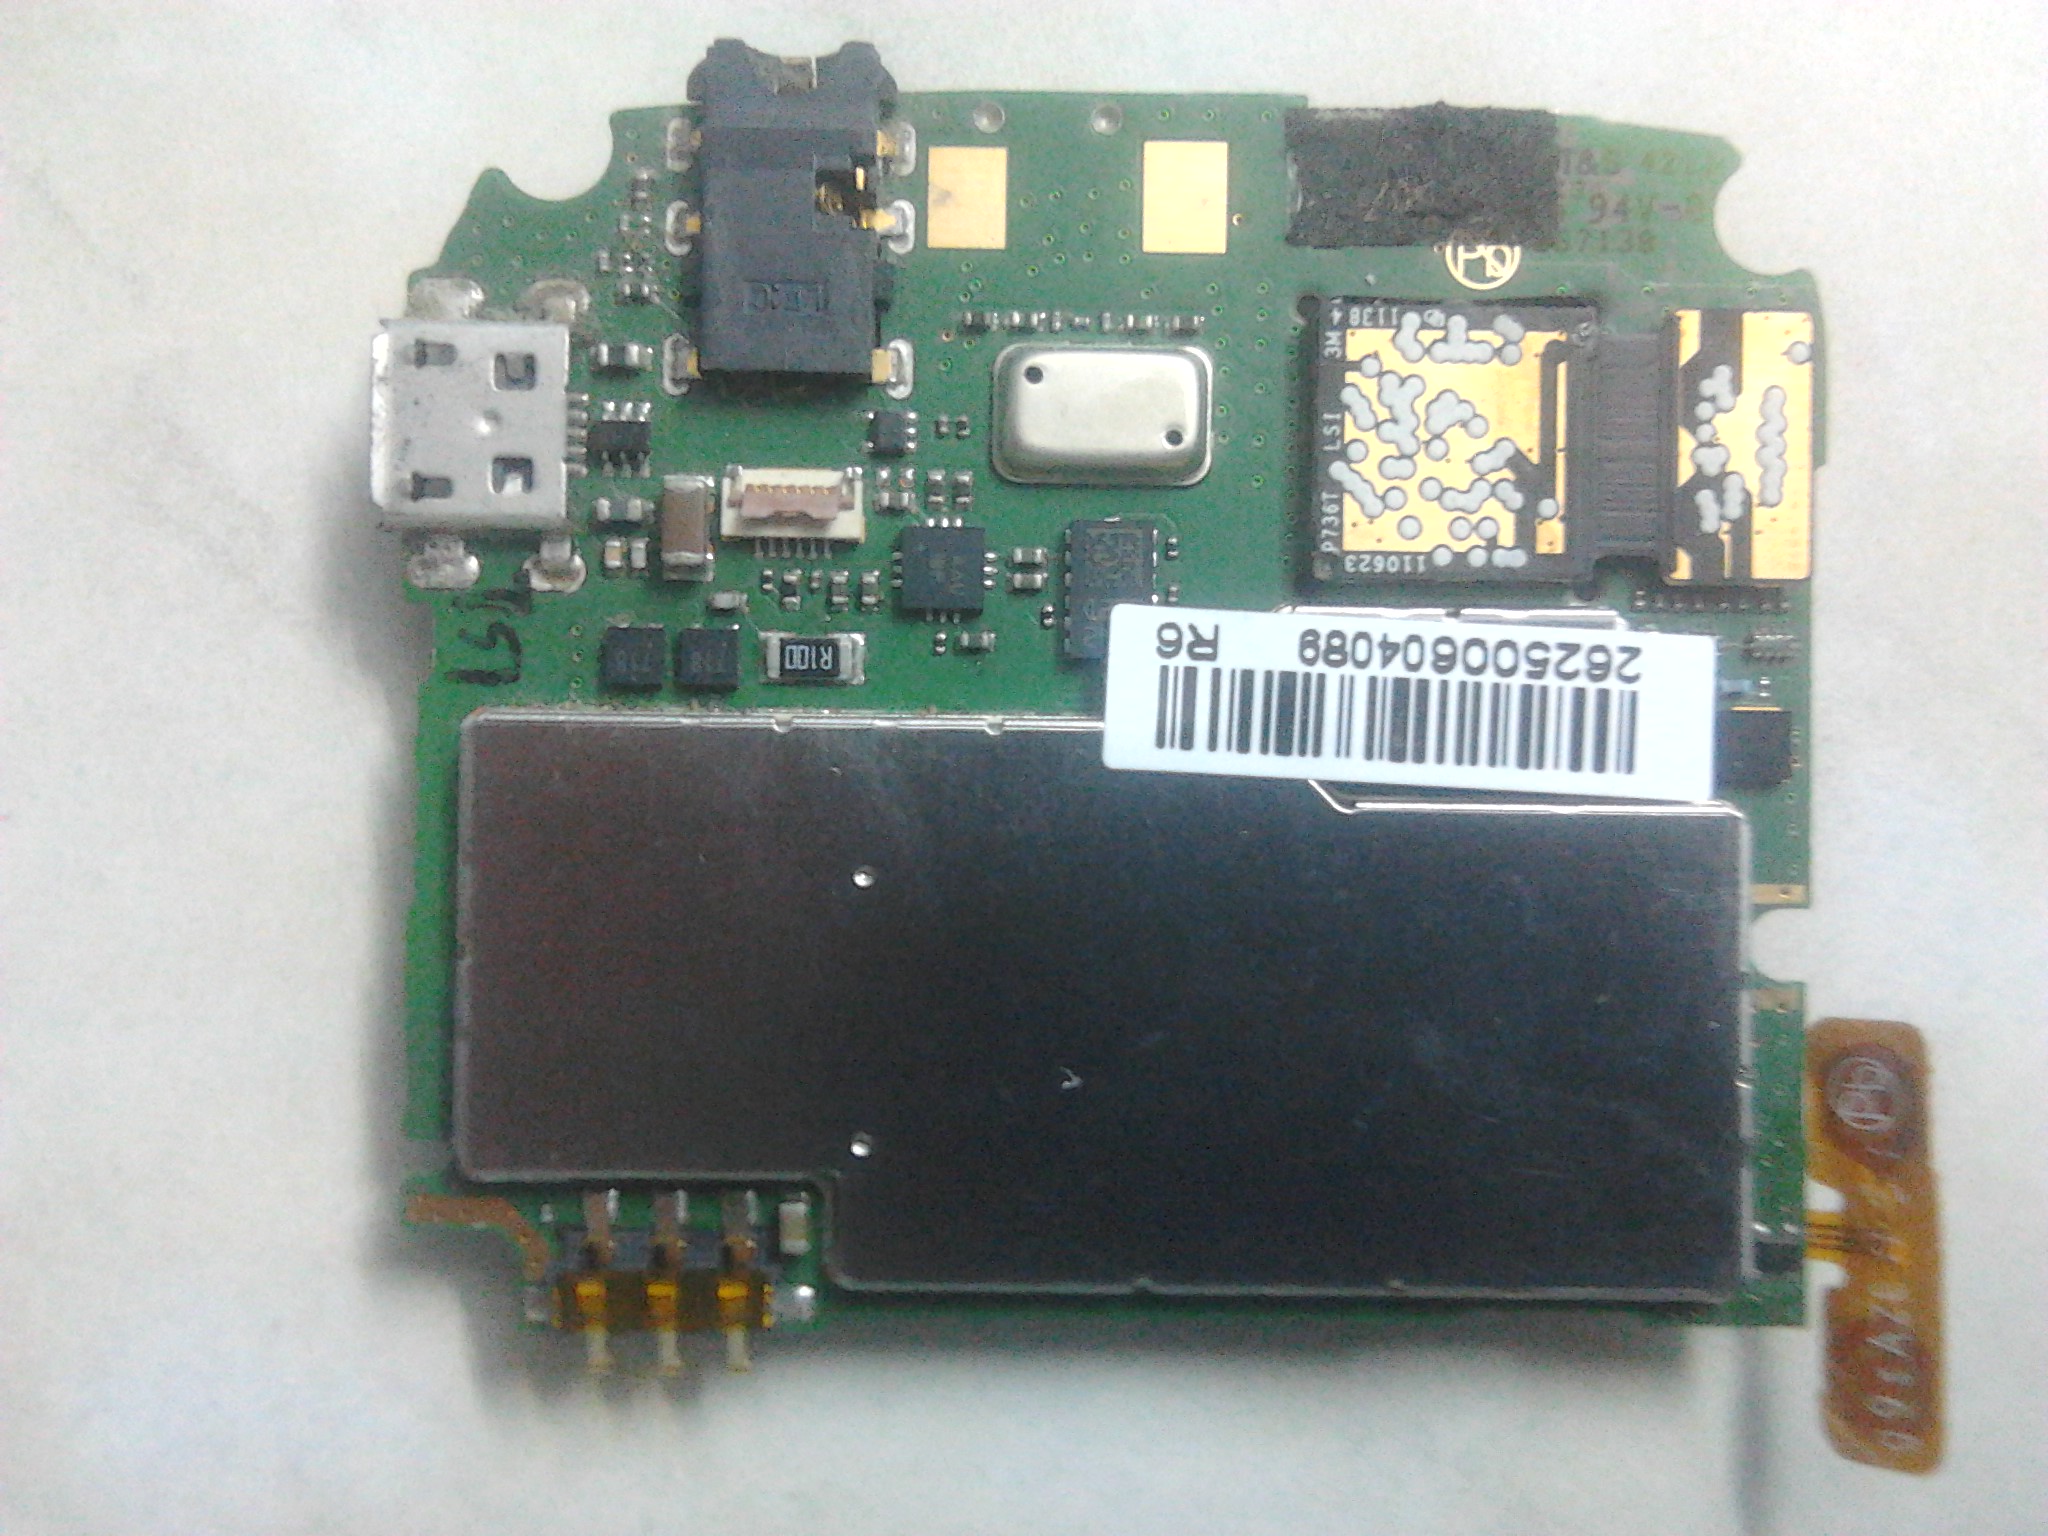 9. Motherboard–closer look(other side)
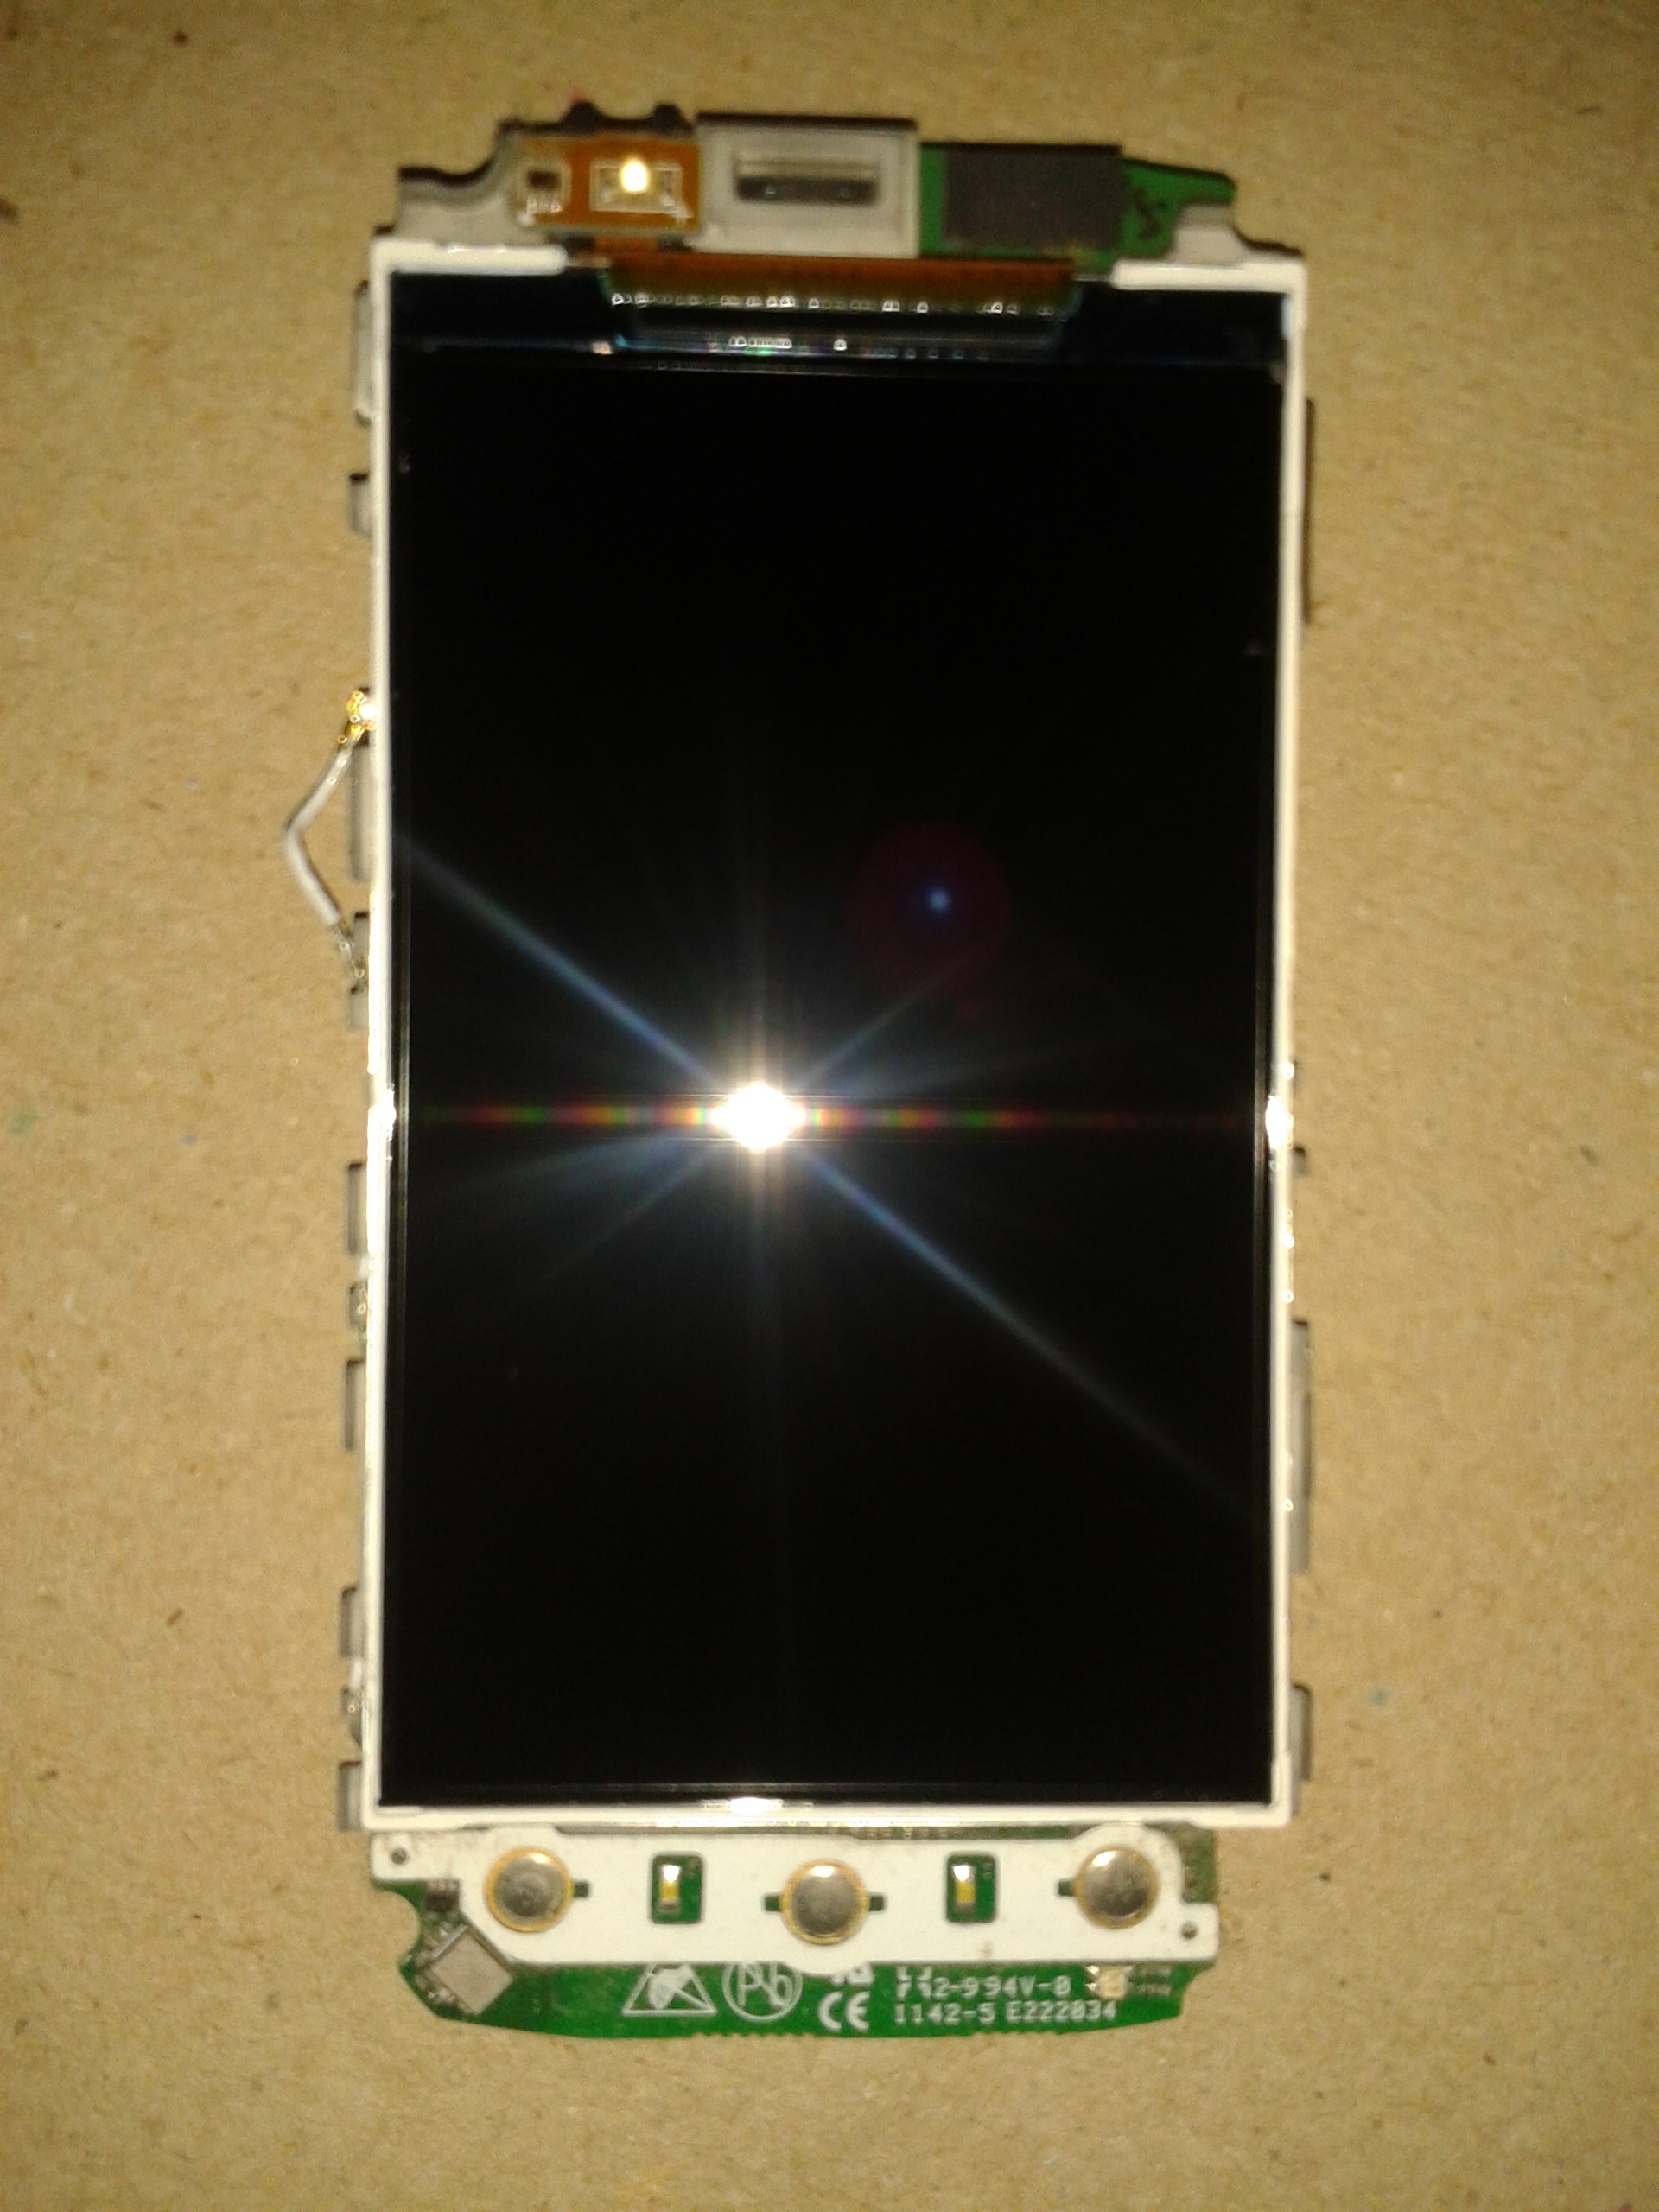
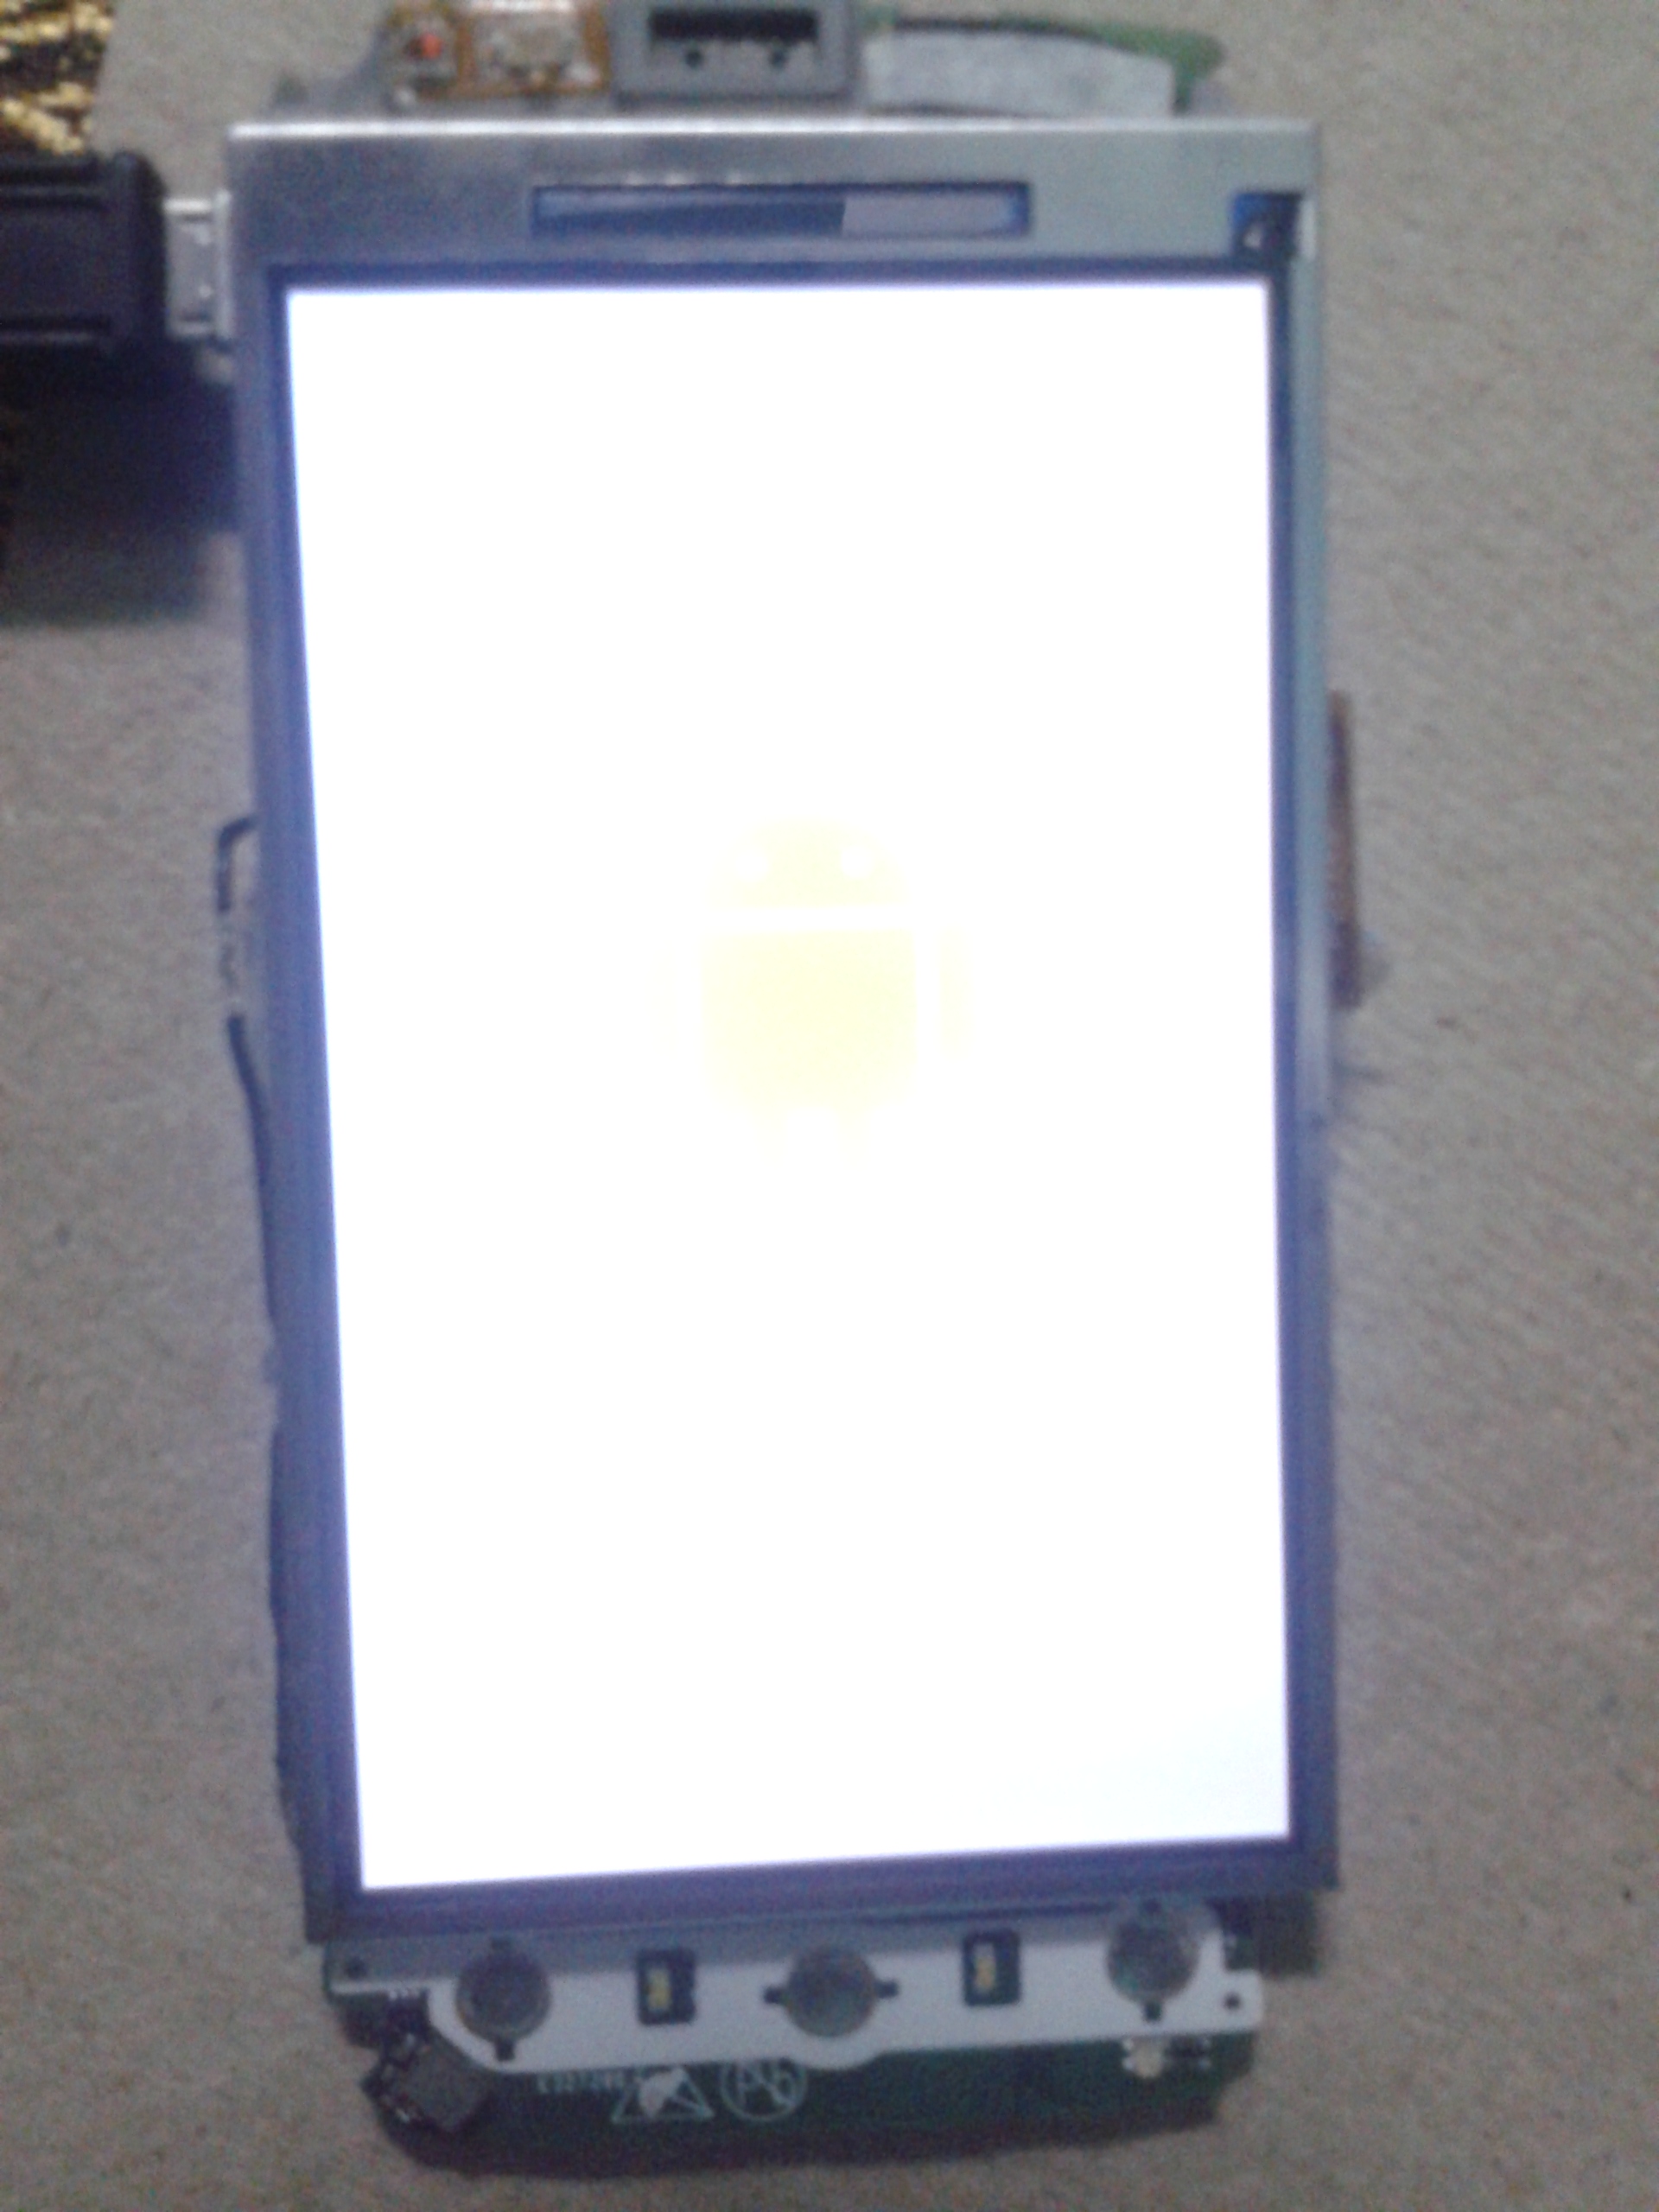 10. Display
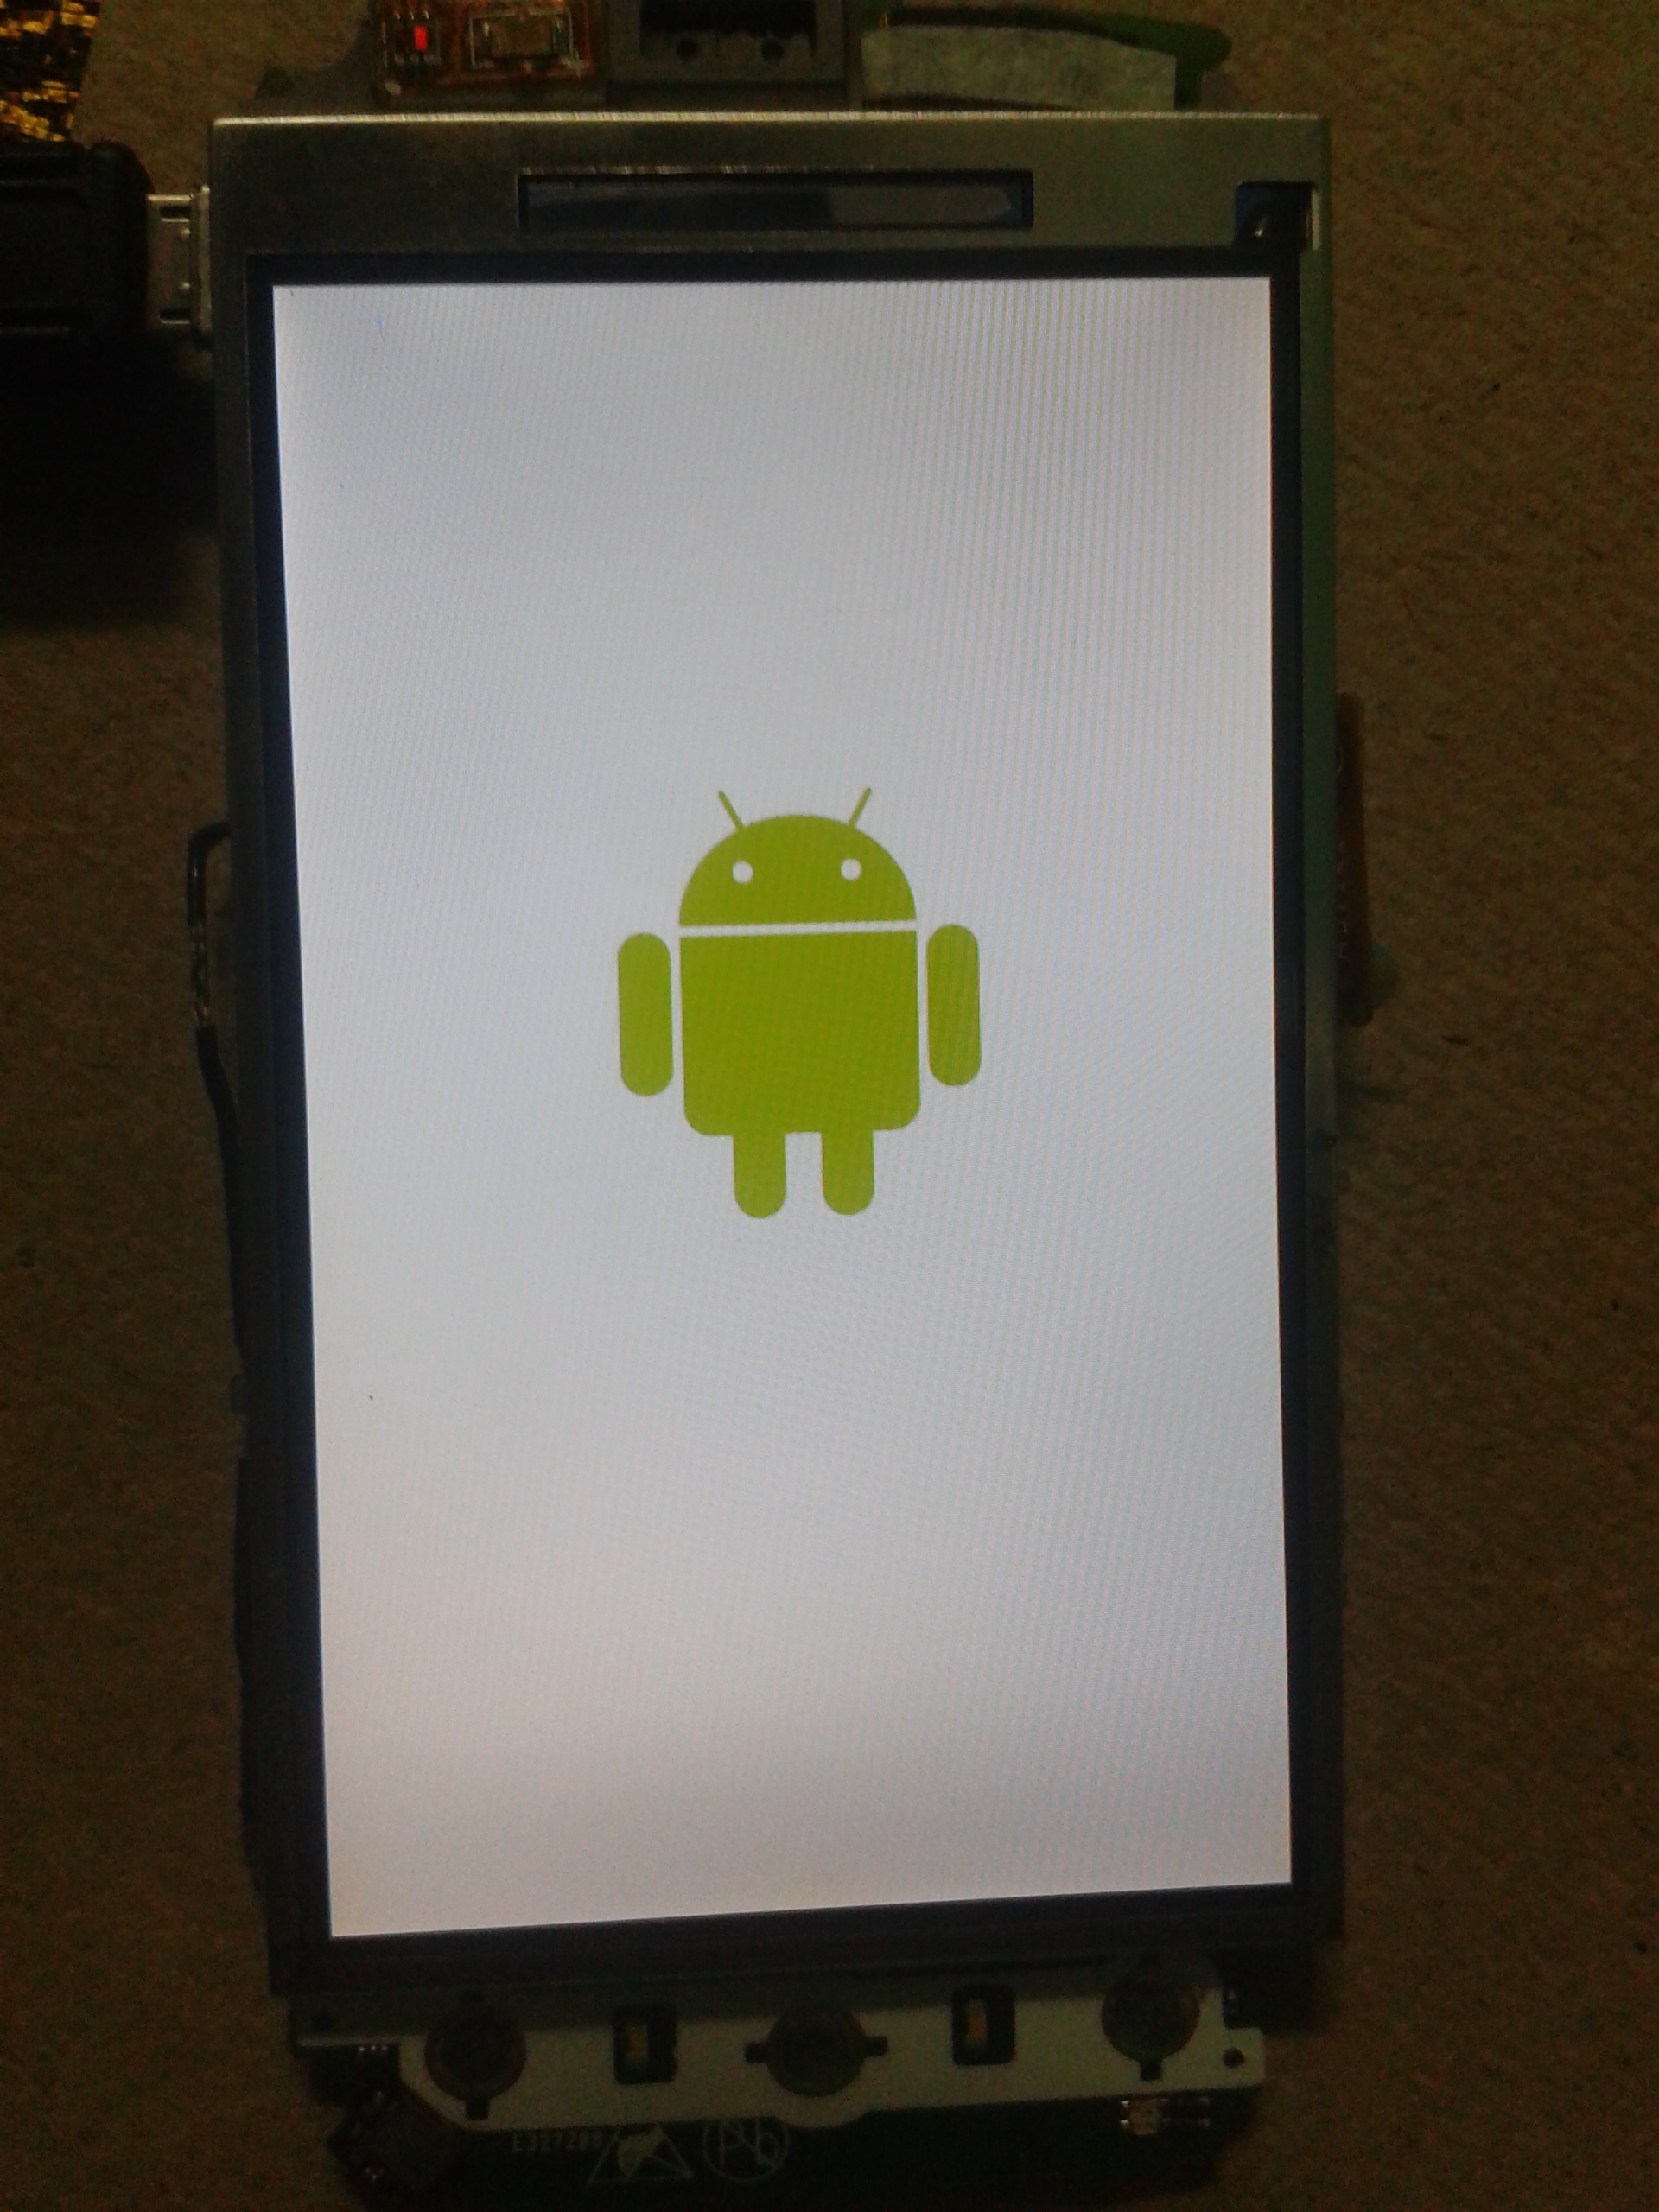 11. Display With Android logo at boot
 12. Display With Idea logo. It doesn’t go any further.
Fortunately, I got another Blade with broken touch screen. I managed to replace the board[pic-9]. It was an amazing experience and I got all the hardware working :). Out of excitement, I bricked the new hardware too :P but this time it was successfully de-bricked(method-5)